How to Calibrate Your HDTV
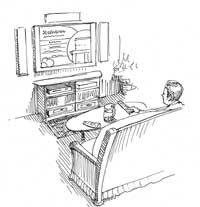
Like a tune-up on your car, a few tweaks can have your HDTV running better than ever. But unlike an auto overhaul, you can make these adjustments yourself.
Step 1: Know Your TV's Menus Familiarizing yourself with your TV's menu system before beginning the calibration will eliminate some frustration. Learn how to get in and out of different settings and adjust them and what terms are used for each (for instance, Contrast = Picture = White Level).
Step 2: Get a Calibration Disc A DVD with test patterns - such as the Sound & Vision Home Theater Tune-up - will run you about $25. It will explain the different patterns and adjustments, and hold your hand through the calibration process.
Step 3: Select the Best Mode Most HDTVs have a mode called something like Film, Theater, Pure, or Pro that adjusts the picture away from too-bright showroom settings to a more accurate level. Just selecting this will improve your picture immediately. If you're not sure which mode is best, consult the manual, give your dealer a call, or look at reviews of your set.
Step 4: Turn Off Enhancements Avoid these - they can add noise, and they monkey with the black/white levels and color. Look for names like Auto Color, Flesh Tone, and Noise Reduction. Not all settings are bad, though. Anything meant to deal with mosquito noise, for instance, can help clean up unwanted image noise.
Step 5: Set the Color Temperature Your TV's Warm preset is typically the closest one to the ideal color temperature of 6,500 kelvin. For an accurate color calibration, though, consult an ISF-trained calibrator (see "Picture Perfect: TV Calibration Demystified").
