Consider Calibration
My mom called the other day. She recently bought a new LCD HDTV and upgraded to her cable provider's HD programming package. "The HD shows look fine," she said, "but why does everything else look so bad?" I went into my pat speech about not realizing how bad SDTV looks until you have something better with which to compare it. "Yeah, but this looks really bad... very noisy." It could be any number of things, I told her. Poor TV bit depth. Bad connections. Subpar processing in the TV or cable box, or both. I headed over to check things out.
She was right. The picture looked terrible, but poor bit depth, cabling, and upconversion weren't the culprits. Quite simply, the TV was still set to the default picture settings. One might reasonably assume that manufacturers set up their TVs to look their best out of the box, but that is seldom the case. Most TVs' defaults are designed to catch your eye on a retail floor but look highly unnatural in a normal viewing environment, even a bright one. Such settings don't just render an exaggerated, inaccurate image; they also expose any and every flaw, both in the TV's performance and in the quality of the signal. A beautiful high-definition image might not look too bad, but standard-definition TV simply can't withstand that level of scrutiny.
Are you getting the best-looking picture that your HDTV can produce? A few simple adjustments to the TV's picture controls (picture mode, color temperature, brightness, contrast, color, tint, and sharpness) can make a world of difference, improving the appearance of all signal types. You don't have to be a video expert, either. Several levels of TV calibration exist to suit any sensibility, from the technologically savvy to the completely hands-off.
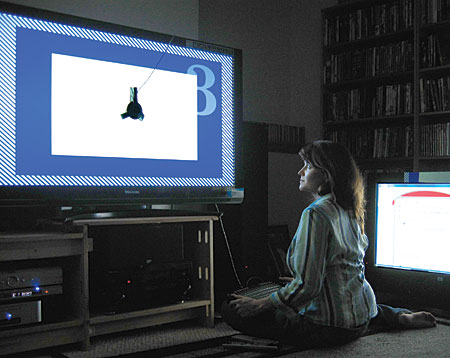
Adrienne uses the SpyderTV for a DIY calibration.
Level 1: Test Discs for the Do-It-Yourselfer
With preset picture controls, like picture mode and color temperature, we can recommend certain modes that tend to look better with most TVs (see sidebar). Other controls, like brightness and contrast, require test patterns to adjust correctly. There are a number of DVDs on the market that provide these test patterns—the two highest profile being Digital Video Essentials ($25) and Avia Guide to Home Theater ($50), both of which also provide audio-calibration tools. DIY test discs are the most economical calibration tool, but they demand a willingness to learn some basics about gray scale, black and white level, color, and detail in order to do the job properly.
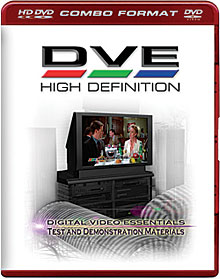
We set up every display that enters our test lab using Digital Video Essentials and its predecessor, Video Essentials, and the discs provide a thorough tutorial to walk beginners through video and audio setup. Some explanations are wonderfully clear, while others are quite confusing, and the menu structure is frustrating. Earlier this year, the much-anticipated Digital Video Essentials High Definition disc arrived. This double-sided disc has the original DVE DVD on one side and the new HD DVD version on the other. The latter sports an all-new structure, with interactive, easy-to-navigate menus and new test patterns to help you set up and evaluate a 720p or 1080p HDTV. It contains no verbal instructions, but you can download a 147-page (yes, you read that right) PDF at www.videoessentials.com/ dvehd. Also, as I write this, a new Avia II disc—available in the DVD, HD DVD, and Blu-ray formats—is scheduled for release this summer.
 Level 2: DIY Calibration Equipment
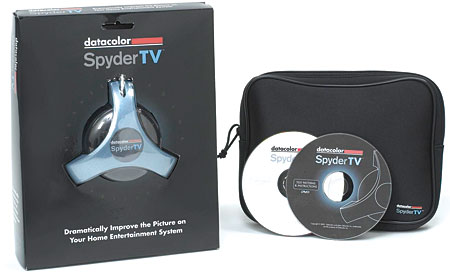
If you like the idea of doing it yourself but don't have the time, patience, or desire to sit through a video tutorial just to make some basic picture adjustments, you should consider a DIY calibration tool such as Datacolor's SpyderTV ($229). It includes a basic colorimeter to help you set color temperature, brightness, contrast, color, and tint for a plasma, LCD, CRT, or DLP/LCD rear pro. It does not help with advanced gray-scale or gamma adjustment, the way professional equipment does.
- Log in or register to post comments


